-
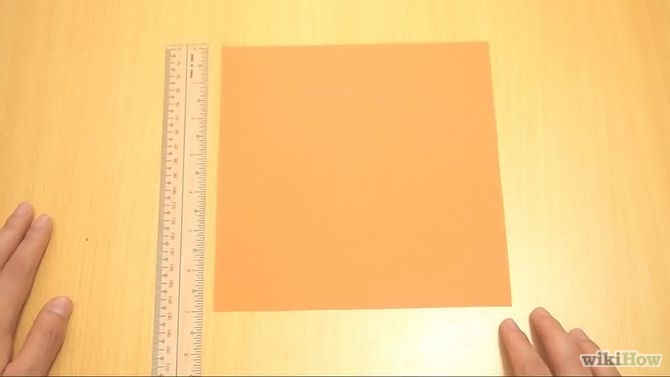 Use a ruler to measure out a 7 by 7-inch (17.5 by 17.5-cm) square on a piece of paper or just use tinfoil. So I think with tinfoil you don't need to paste a different color on some cut out paper.
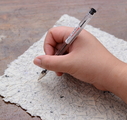
Draw along the ruler with a pencil. Once you have drawn the square, cut
it out with scissors. Because you'll be folding and coloring over it,
you can use any old piece of scrap paper.
Use a ruler to measure out a 7 by 7-inch (17.5 by 17.5-cm) square on a piece of paper or just use tinfoil. So I think with tinfoil you don't need to paste a different color on some cut out paper.
Draw along the ruler with a pencil. Once you have drawn the square, cut
it out with scissors. Because you'll be folding and coloring over it,
you can use any old piece of scrap paper.
- You can also choose to make your square a different size. The bigger the measurements, the bigger the pinwheel.
- If you want to avoid scissors for safety reasons, you can cut paper without scissors.
- You can also purchase 7 by 7-inch square pieces of paper at a craft store. This is a more costly option but saves you the trouble of measuring and cutting. If you buy paper with a pretty pattern, it will also save you the trouble of having to color or paint your paper.
-
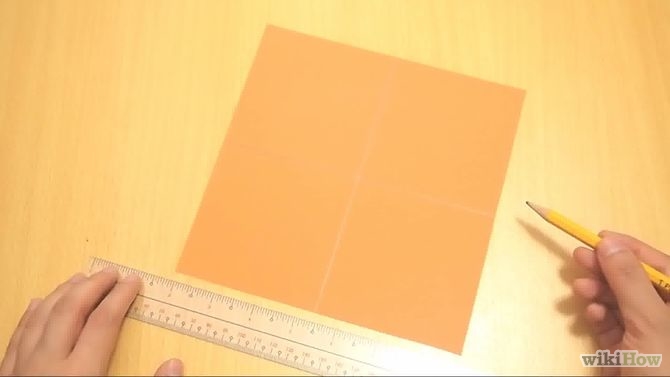 Draw four equal squares on the piece of paper. Use a
pencil and ruler to get the square dimensions accurate and straight.
Because your paper is 7 by 7-inches, the middle of each side of the
paper should be 3.5-inches. Do not draw the lines too hard or they will
show up under your coloring later.
Draw four equal squares on the piece of paper. Use a
pencil and ruler to get the square dimensions accurate and straight.
Because your paper is 7 by 7-inches, the middle of each side of the
paper should be 3.5-inches. Do not draw the lines too hard or they will
show up under your coloring later.
-
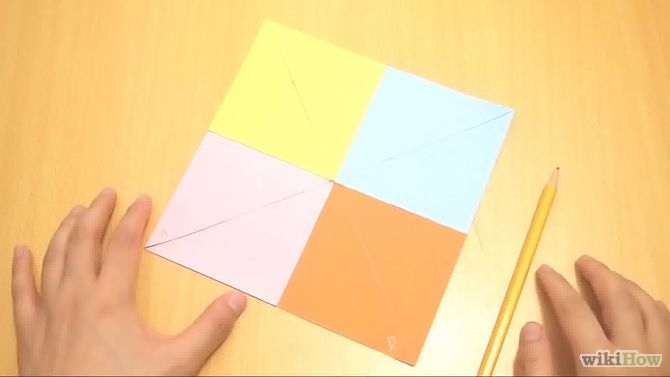
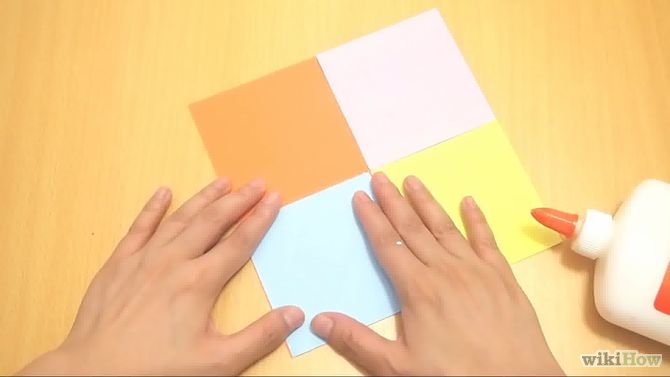 Color in the squares, yet with tinfoil you don't have to do this. Make each square a different
color. You can get as creative as you like with each square. Here are
some ideas for different ways to color the squares:
Color in the squares, yet with tinfoil you don't have to do this. Make each square a different
color. You can get as creative as you like with each square. Here are
some ideas for different ways to color the squares:
- Color each square with a brightly colored marker or pencil.
- Paint each square.
- Glue pictures cut from a magazine on each square. Be sure to glue the pictures down firmly.
- Try different colored foils that you have saved from chocolates or other foods. Glue these on the paper in each square. The foil catches the sun's rays and reflects back beautiful colors.
-
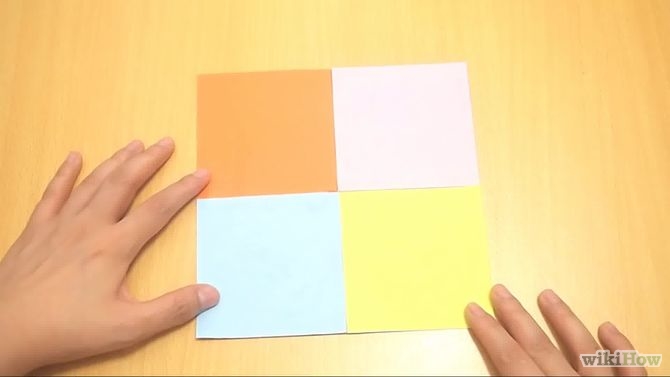 Allow paint or glue (if you used either) to dry. It
will be much harder to fold wet paper without it ripping. There is also
the chance that glued pieces might get stuck together and then you would
have to start over.
Allow paint or glue (if you used either) to dry. It
will be much harder to fold wet paper without it ripping. There is also
the chance that glued pieces might get stuck together and then you would
have to start over.


Method 2 of 3: Making the Wheel
-
 Trace four diagonal lines from the corners of the square toward the center.
Place a ruler diagonally from one corner of the square so that it runs
through the center and touches the opposite corner. Draw a line from the
edge of the corner to just 3 centimeter (1.2 in) away from the
center. Repeat this for each of the corners so that you have four lines
drawn toward the middle and they are all of the same length.
Trace four diagonal lines from the corners of the square toward the center.
Place a ruler diagonally from one corner of the square so that it runs
through the center and touches the opposite corner. Draw a line from the
edge of the corner to just 3 centimeter (1.2 in) away from the
center. Repeat this for each of the corners so that you have four lines
drawn toward the middle and they are all of the same length.
- Another option is to fold your square in half diagonally and in half diagonally again. Then unfold.
-
 Cut along each diagonal line. Don't cut
farther than the lines you've traced. Leave 3 centimeter (1.2 in)
of uncut space in the center and along each line. Don't cut the four
straight lines you drew to separate the colored boxes.
Cut along each diagonal line. Don't cut
farther than the lines you've traced. Leave 3 centimeter (1.2 in)
of uncut space in the center and along each line. Don't cut the four
straight lines you drew to separate the colored boxes.
- If you chose to fold your square rather than drawing lines, cut along the folded lines until the cuts are 3 centimeter (1.2 in) away from the center.
-
 Label each line A, B, C and D. Working clockwise,
mark on the same side of each cut; when you're done, each big triangular
flap of the paper should only have one letter on it (as shown below).
Label each line A, B, C and D. Working clockwise,
mark on the same side of each cut; when you're done, each big triangular
flap of the paper should only have one letter on it (as shown below).


Method 3 of 3: Adding the Pin and Stick
-
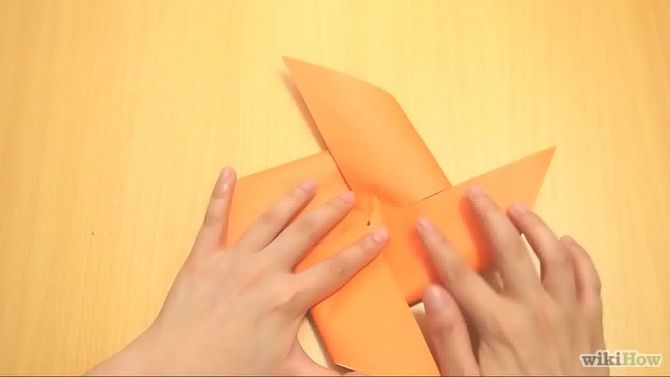
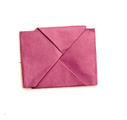
 Use a finger to hold edges A, B, C and D to the center of the square. Make sure all four corners are evenly overlapping so that none of them can escape.
-
 Push a push-pin into the middle of the edges A, B, C and D.
Scoot your finger slightly to the side, then push the pin right through
the paper so that each one of the edges sits snugly on top of the other
beneath the pin.
Push a push-pin into the middle of the edges A, B, C and D.
Scoot your finger slightly to the side, then push the pin right through
the paper so that each one of the edges sits snugly on top of the other
beneath the pin.
- If you do not have any small pins, you can use a long pin instead, but you will have to push the pin further in the pinwheel.
-
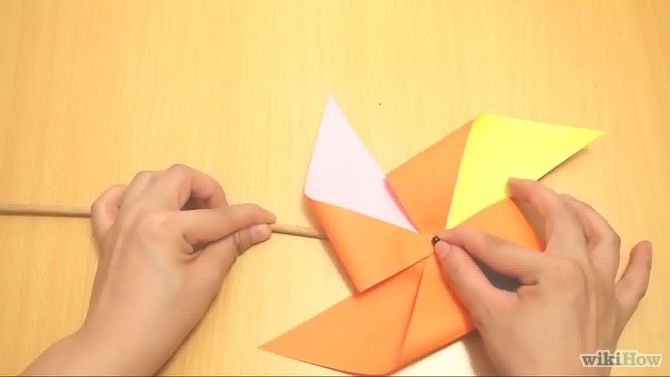
 Remove the push-pin and hold the edges down with your finger again.
Place a map pin in the hole that has been formed by the push-pin. A map
pin is a short pin with a colorful ball on the end. The map pin's
circumference will be slightly smaller than the hole made by the
push-pin. This allows the pinwheel to spin.
Remove the push-pin and hold the edges down with your finger again.
Place a map pin in the hole that has been formed by the push-pin. A map
pin is a short pin with a colorful ball on the end. The map pin's
circumference will be slightly smaller than the hole made by the
push-pin. This allows the pinwheel to spin.
-
 Slide a small bead onto the underside of the pin (the sharp part of the pin that has gone through the paper). Pony beads are too big. This bead forms the other part that permits the windmill to spin between the paper and the stick.
-
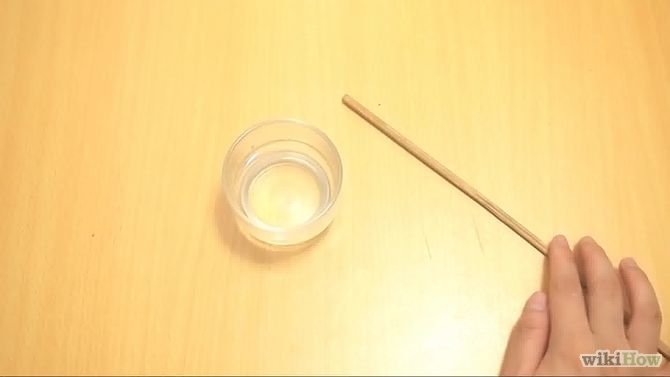 Wet the end of a stick and lay it down on a flat surface.
Dowels (solid wooden rods) and wooden skewers work well as pinwheel
sticks- just make sure to cut the pointy end off. Wet the end of the
stick so that the wood does not splinter when you put the pin into it.
Don't try to hold the stick as you could drive the pin into your finger.
Wet the end of a stick and lay it down on a flat surface.
Dowels (solid wooden rods) and wooden skewers work well as pinwheel
sticks- just make sure to cut the pointy end off. Wet the end of the
stick so that the wood does not splinter when you put the pin into it.
Don't try to hold the stick as you could drive the pin into your finger.
- You can paint your stick a bright color beforehand to give your pinwheel more flair. Make sure the paint is dry before attaching it to the wheel.
- Try using a soft drink straw instead of a stick or another piece of cardboard layed flat on a free surface, so you don't need to hammer anything, just remember to pin across the straw, think and then pin a piece of rubber on the other side.
-
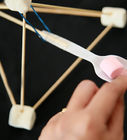
 Press the pin onto the stick. To prevent the bead
from slipping off, you might need to press it with the side of your
thumb as you place the pinwheel on the stick.
Press the pin onto the stick. To prevent the bead
from slipping off, you might need to press it with the side of your
thumb as you place the pinwheel on the stick.
-
 Hammer with care.
If the pin is not going into the stick easily, very gently tap the head
of the pin with a hammer. Drive the pin into the stick securely. If
necessary, fold back any part of the pin that sticks through the other
side of the stick. Do this by gently tapping the point of the needle
downwards with the hammer so that it lies flat against the stick.
Hammer with care.
If the pin is not going into the stick easily, very gently tap the head
of the pin with a hammer. Drive the pin into the stick securely. If
necessary, fold back any part of the pin that sticks through the other
side of the stick. Do this by gently tapping the point of the needle
downwards with the hammer so that it lies flat against the stick.
-
 Make sure the pin is loose enough to allow the pinwheel to turn. Test it by manually spinning it. It should spin easily.
- If your pinwheel does not spin freely, pull the pin back out and push it back into the stick, this time leaving more room between the bead and the stick.


